Thursday, February 28, 2013

Fabric Photoshop

I recently ordered some fabric swatches from this fantastic website. Carousel Designs is a baby bedding company but they have some really cute graphic fabrics. I want to make some curtains to go in our living room so I ordered a handful of swatches and quickly narrowed those down to 3 favorites. Step one was to use Frog Tape to stick them to the trim around the windows. This allowed me to get a bit of a visual as to how the finished product would work (sorry for the different shades of green on the walls. My white balance wasn't agreeing with me).

Option #1: Gray Ikat pattern with a yellow center.


Option #2: Green Ikat pattern with a blue center.


Option #3: Navy blue graphic pattern.


At this point Phil's favorite was option 2 and I was leaning towards option 1. I decided that I needed some better visual aids. Enter my buddy, Photoshop.

Option #1:


Option #2:


Option #3:


Phil was watching Ip Man 2 while I took pictures.

After these imperfect renderings I'm leaning towards Options #1 and #3. I think Option #2 is just a little too much green for the space. #1 is my current favorite but there's something about that graphic navy pattern in #3 that makes me a little giddy. 

What do you think? What's your favorite?

Wednesday, February 27, 2013

Christmas Crafts... a few months too late

Every Christmas I say I'm going to make something crafty or Pinterest inspired. This year I finally got my act together and did something!

Here was my Pinspiration. A snow globe made out of a wine glass or goblet. How precious is that??


I know a number of family members that would have enjoyed something like this to display at christmas so I set out to make 3 or 4 of them. However it was surprisingly difficult to find christmas-like miniatures.

I tracked down some fake trees pretty easily but had a hard time finding animals or people that were the right size and whatnot. Phil finally picked up a packet of miniatures from Hobby Lobby that had an eskimo, wolf, dog, elk, igloo, etc. While most of them wouldn't work there was a little elk that I thought would do the trick. Some hot glue and and glitter snow later and I had a wine glass snow globe:


Overall a pretty quick and painless project (once I found the materials). Merry Christmas!


Bathroom Painting


Once I got the hallway finished I got the urge to paint something else! The main bathroom was the most tempting because it had the least amount of trim to paint. Last Saturday I woke up and just thought, "I'm going to paint the bathroom today!" So, I did.

Here are the Before photos. Although they are after I took down the mirror and towel racks. Whoops.


After a Saturday of painting here's what I ended up with:


The bathroom is small so I had to stand inside the shower for this photo. I'd like to do something to the cabinetry and mirror at some point. Maybe paint or stain the cabinets? Definitely replace the hardware. Maybe spray paint the mirror frame an Oil Rubbed Bronze? A new light fixture would be fun too. Maybe some cute dangly pendant?


Oh, the decisions! We'll get there. In the meantime I like the color. I was hoping for more of a blue-green but this is good too. I'm definitely not re-painting this room anytime soon. On to the next!


Tuesday, February 26, 2013

Painting Bug

The first painting project I took on was painting the living room back in July. I still haven't shared pictures but those will have to come later because I don't have any good ones right now. I began painting the trim in the entry and hallway a few months ago and finally finished it up within the last few weeks!

Unfortunately the only real before picture I have is a screen shot from zillow when we were in the process of buying the house. As you can see it has the same wood trim as the rest of the house and a pink-ish paint color. The same paint is used throughout all of the bedrooms and depending on the light sometimes takes on a violet quality. Mostly it looks pink. I don't like it.


I started out with the best of intentions: sanding down the trim, taping everything off, painting. I quickly learned that I hate the prep work. I wasn't getting anything done because I despise sanding trim. I decided to skip that (probably critical) step. I might regret that in a year when the paint starts to chip and peel but, oh well! Yay instant gratification! Once I made that difficult decision the process moved along much quicker. I got all the trim painted and my mom was kind enough to help me knock out the walls (not literally).

Here's a view from the living room. Doesn't the white trim make everything look fresh and crisp? We plan to do something about the dark wood doors at some point. Not sure if we'll end up painting them or just buying new ones... that's still up in the air! Look at those pretty, green living room walls...yum!


Here's the view looking straight up the stairs. The color reads a little pinkish in the foreground but that's just the lighting. The wall at the end of the hall is pretty true to life.


Here's the opposite view looking down to the living room. 


It's definitely a big improvement over the pink walls!

I'll leave you with another living room sneak peak:


Monday, September 17, 2012

All Hands on Deck

When we moved in our upper deck was not very well supported. The whole weight of our deck rested on two 4x4 posts, one of which was bowing and twisting, so we haven't gotten any use of the deck off the kitchen since we've moved in. 


Our ultimate goal is to add stairs from the top deck, so reinforcement was a necessary first step. This weekend my dad and brother were kind enough to come over and help us do some work! Saturday we bought all the lumber we would need and figured out our plan of action. We had to tear up some of the deck in order to gain access to the existing concrete pads for the posts to rest on.


I didn't take any pictures during the process, but Sunday we got the new 4x6 posts up along with a massive beam that will now bear the weight of the deck.


We were able to use the existing concrete pads, which saved us some time and money, but left us with a not very symmetrical support system...oh well! 


The next step is to rip out the hot tub full of weeds! Hooray!


Sunday, June 24, 2012

Mantel Makeover Madness

Now that we're mostly unpacked I have allowed myself to begin the painting process. I decided to tackle the fireplace mantel first, sanding the trim was just too intimidating. Last week after work I sanded, primed, sanded, painted, sanded and painted again. Here was the mantel before:


It wasn't terrible, but I really didn't like that it was painted the exact same color as the walls. I put the second and final coat of paint on it today:


The white is such a big improvement. It will be even better when I get all the trim painted as well. Phil, my mom, and my brother were kind enough to help me get all the trim in the living room sanded this weekend, so we're well on our way. I got it all taped off tonight and will start priming this week after work!


Sunday, June 17, 2012

One Long Post To Make Up For Our Lack Of Posts...

It's been far too long since we've updated! We have been very busy unpacking and enjoying our time in our new home! Now, I feel it is time to catch you all up on what we've been up to.

First! Some random photos that I had on my camera:


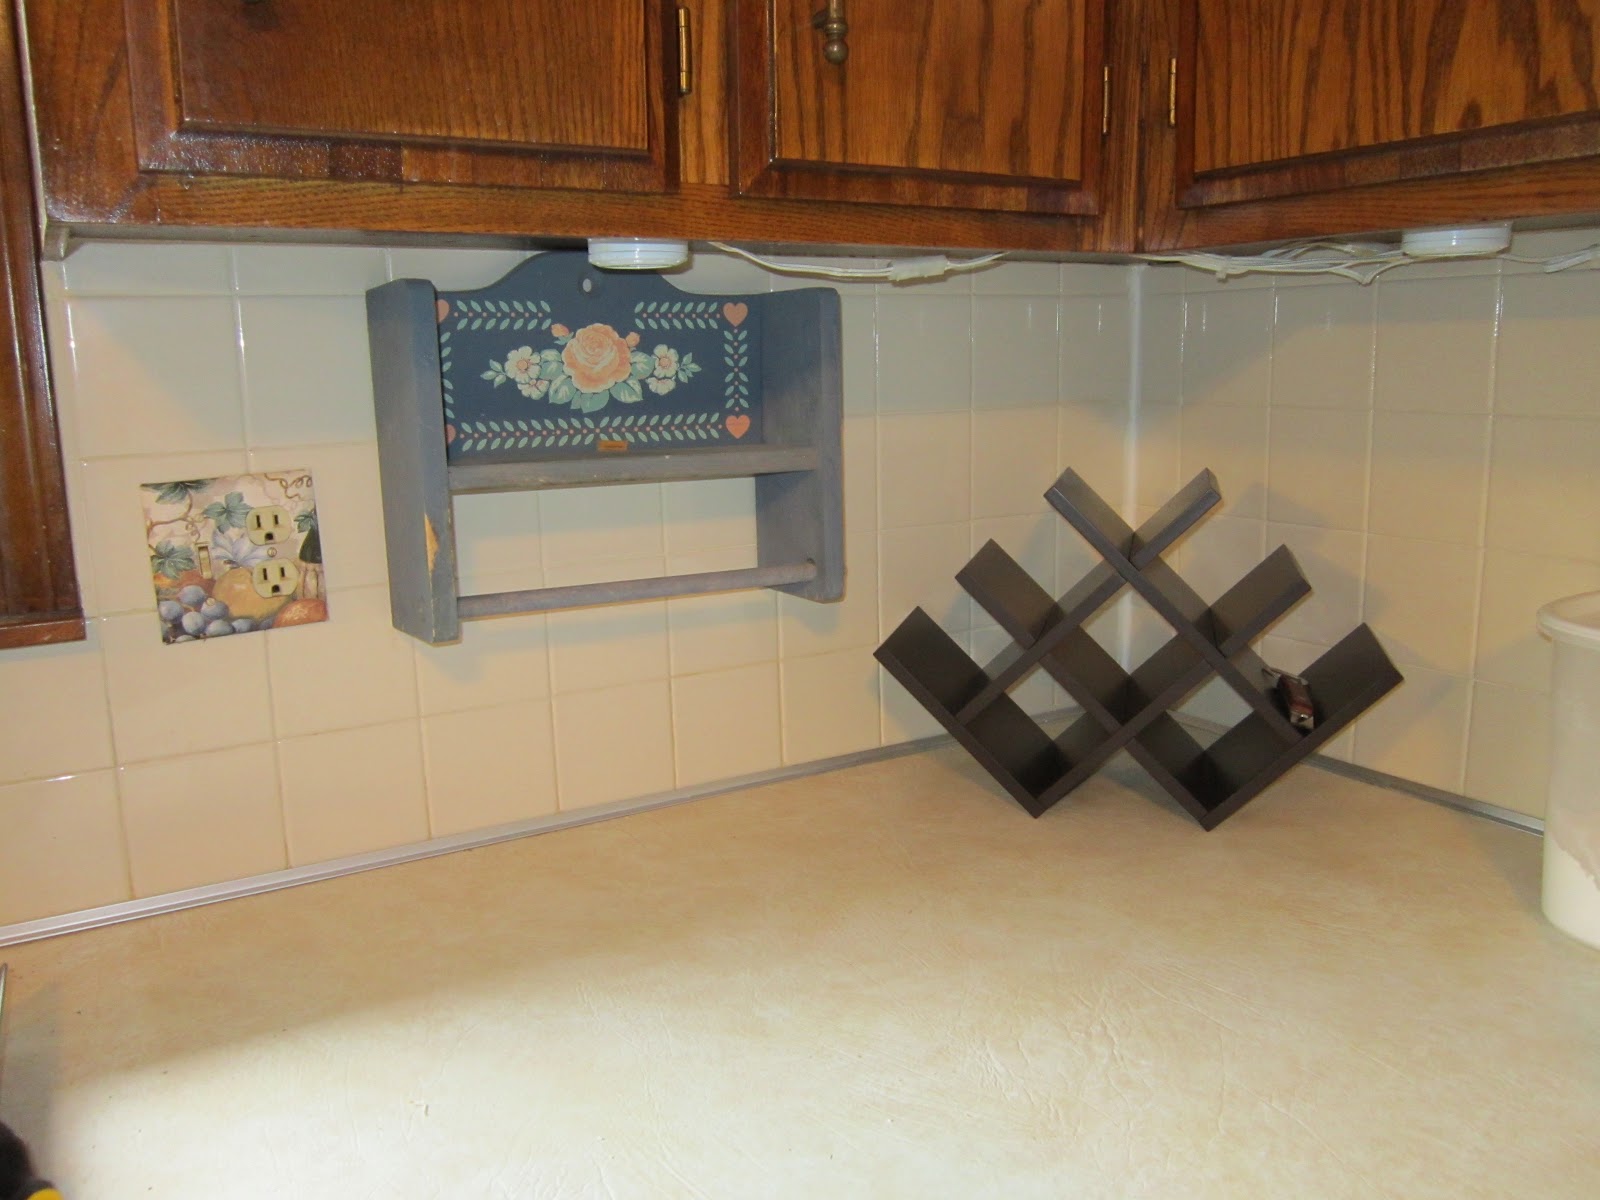
You can see the previous owners left us this...lovely...spice rack (and also the outlet covers). However, it's not really our style. So while Phil was napping I decided to pry it off the wall.


I began to seriously question how this thing was attached to the wall because I was able to completely tear it apart without it even budging from the backsplash. Ultimately, it came down.


It ended up being attached with some quite impressive foam tape. The important thing is...it's gone!

Next on my memory card: a quick landscaping project we completed today! First we need to remind you that we replaced our mailbox because the original one was located on the ground when we moved in. Some lovely neighborhood kids appear to have hit it with a baseball bat. Joy. We mentioned this mailbox project in a previous entry and the ever lovely Grandma Vi sent us a card!


Thanks Vi! It was great to receive some non-junk mail in our new mailbox! Anyways, back to todays project. As you can see below, this...tree(?) was eating our mailbox.


Believe it or not, there is a sign under there with our address on it. We felt sorry for the mailman and decided to do some "landscaping." While it may not be the prettiest job, it serves its purpose.


Look! We have an address!

More random photos:

Here is our new, aforementioned, front door hardware (also Finnigan's terrible Vanna White impression):


Philip being...himself:


Finnigan's Bucket-O-Goodies:


A hot tub filled with weeds:


Our new grill that we spent 3 hours assembling. Although, the BBQ with Andy & Becky afterwards made it totally worth it.


A very colorful, delicious looking, salad that Philip made for dinner:


Last, but certainly not least...Finnigan abandoning our game of fetch to roll in an ant hill.